In today’s Volupe blog post we will have a look at the assembly FEM functionality in Simcenter 3D, which is great when larger assemblies containing multiple bodies are to be modelled. When the model complexity increases with a growing number of components, the availability of partitioning the FE model by using an assembly FEM can be really handy. Let’s have a look at the advantages.
Much like in NX if you wanted to build a more complex structure, say a steel lifting yoke, you would not design every beam, column, nut and bolt from scratch each time a new one was needed in your design. That’s the neat thing with standards and mass-produced parts. We can create a design and then clone it in our assembly. Design one fastener, then create a multitude of them. This is the rationale behind creating assemblies on a CAD level.
Going from CAD we as simulation engineers want to create an FE model. Traditionally this would be accomplished by grabbing the entire assembly from CAD and mesh all the solids and surfaces to be included in the analysis. Not considering that several parts in that CAD may be regarded as instances of each other, i.e. cloned parts with different placement in the assembly.
By creating one large FE model directly and not considering the potential duplicates in the geometry we are doing two things: Firstly, we are putting in extra time and effort in creating a good mesh on every single piece. Secondly, are also making it harder to collaborate if the model is so large that it may be easier to divide it amongst a team who can prepare and mesh components separately.
This can all be avoided if using an assembly FEM. Creating an assembly FEM, .afm, is easy: If you have a part file containing an assembly all you need to do is to open the Pre/Post application and under Home choose to create a New Assembly FEM.
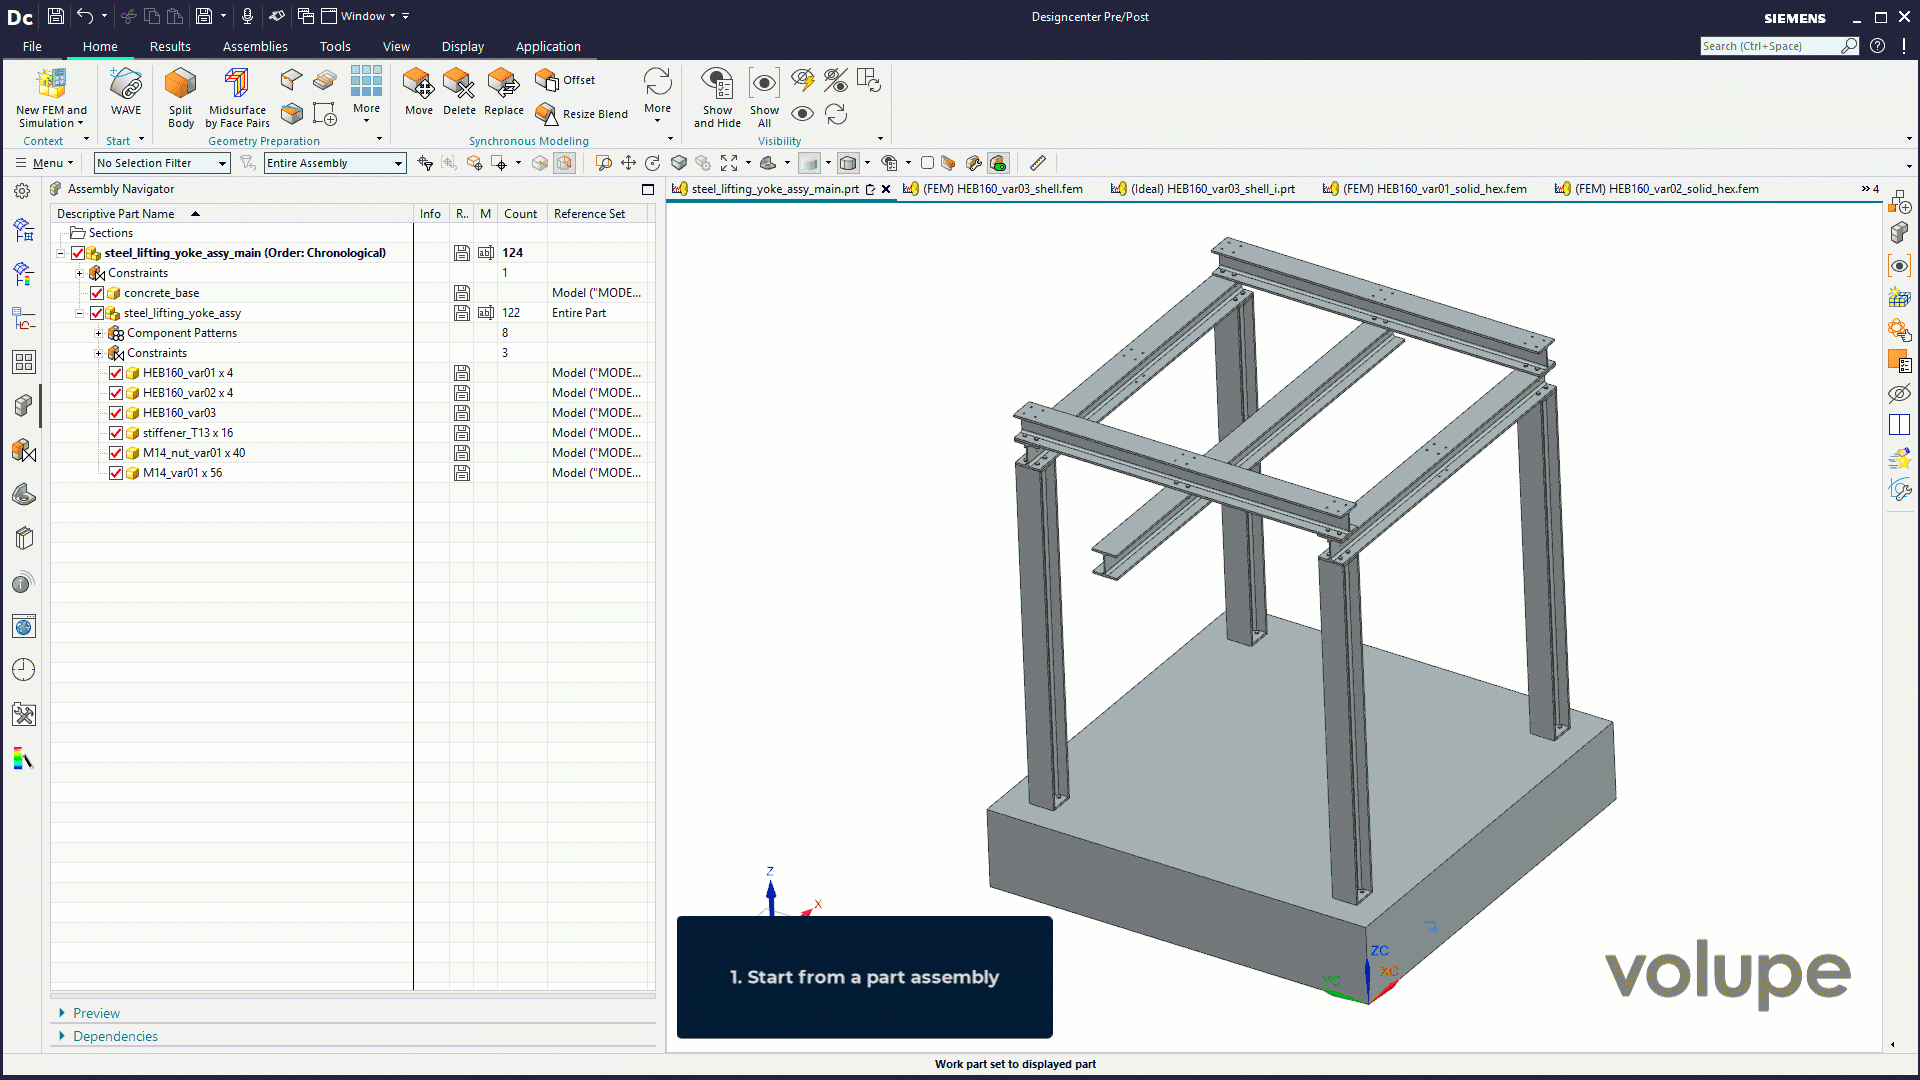
Having a new .afm we only need to map an FE model to each of the components present in the assembly. These are referred to as component FEMs. Each nut and bolt will be represented with one single FE model, which is cloned and placed at corresponding locations of the individual components, which will ensure that the same quality mesh is used for all these components and if changes are needed we only need to apply them to one single component to update the assembly.
Another perk in using assembly FEM files is that you can easily swap the component FEMs for alternate representations: E.g. a solid to a shell representation, or from a coarse, to a detailed mesh.
One caveat which is easily missed when working with multiple component FEMs is that they will originally contain the same numbering of their entities. Keep in mind to always check model numbering so that duplicate indices are not present. This can quickly be done using the Assembly Label Manager found when right-clicking the .afm file in the Simulation Navigator then:
Assembly Checks → Assembly Label Manager
Another advantage when using an .afm approach for your simulation is that you can work with reference sets much like in regular assemblies in NX. These sets are collections of entities within your assembly which you select to represent the assembly. Meaning that you can create a representation of your assembly using a subset of its content. In an .afm the reference sets you create on the .afm level select a subset of the .fem files included in the .afm. These sets can then be used in the .sim file to define solutions only including parts of the model. For instance, to look at a buckling simulation on one of the columns of a structure, or to see when a single friction joint starts to slide in an assembly.
Assembly FEMs are great for working with larger complex assemblies when there are many bodies to be connected. By using either some type of connector element (CBUSH, CBEAM, RBE2/3) or using contacts you can easily connect component FEMs with each other. It can simplify collaboration, and the re-use of already completed FE models. I hope you found out something useful from this post, which was made using Simcenter 3D 2512, and if you have questions, reach out to us at support@volupe.com.
Viktor Hultgren, M.Sc.
Contact: support@volupe.com
+46 704 21 06 61
